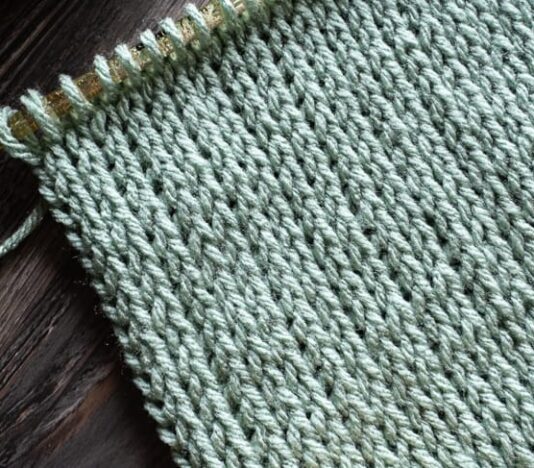
Tunisian is also known as Knitting Crochet. It is a hand weaving technique, in the style of knitting, using a hook specially designed for most weavings instead of traditional knitting or crocheting needles. While traditional crochet uses just one loop in each stitch, Tunisian crochet uses multiple loops along the line of work. Each linework is divided into two schemes known as in point (loop pairing) and out point (unpairing).
The end result is handcrafted work that is highly textured, tight and “go for it”. Unlike the typical crochet project, Tunisian cha stitches more often resemble traditional knit stitches, creating more compact and beautifully textured pieces. Tunisian is used in many projects including blankets, garments, storage bags, towel pouches, purses, throws and other trim pieces.
Tunisian crochet dates back to the 19th century and is considered one of the oldest types of crochet. Tunisian crochet is slightly different from traditional crochet, traditional Tunisian crochet involves working with a hook that is larger than the hook size normally used for conventional crochet. In addition, the thread is woven with four or more needles, making it possible to create more complicated and creative effects. From the 19th century, Tunisian crochet gained great popularity and is now widely practiced in Tunisia and neighboring countries.
Tunisian crochet | What are your main models
Tunisian crochet comes from the French script “crochet de Tunisie” and is also known as African or Arabic crochet. This crochet technique combines features of knitting and regular crochet, such as using a straight hook to work the stitches on the front and back.
There are three main models of Tunisian crochet:
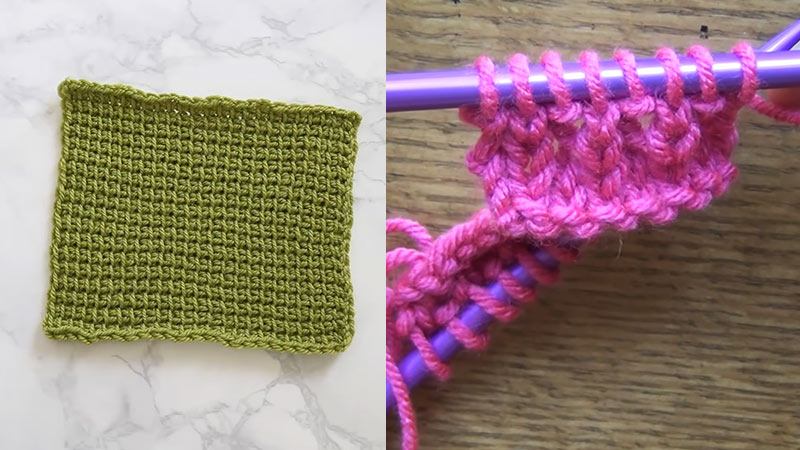
1. Crochet single stitches: this is the most basic and fundamental of the Tunisian crochet patterns and involves working shins. There are many different basic stitches, from bow stitch to loop stitch, that can be combined together to create a unique project.
2. Double Stitch Crochet: This is the most advanced crochet pattern and requires you to work with two hooks. There are three different basic stitches here, the half reserved stitch, the whole reserved stitch, and the joint stitch. These basic points can be combined to create a unique project.
3. Stretch Knit Crochet: This is another advanced Tunisian crochet pattern that requires you to work with two hooks. Unlike double stitches, stretch knit stitches are worked through the front hook and back loop. These can also be combined to create a unique project.
Tunisian crochet | step by step to do
To learn how to do Tunisian Crochet, you will first need to know some basic terms:
Simple Tunisian Stitch – Abbrev. PTS: It is the basic stitch of Tunisian Crochet. You start it by attaching a little chain to the Tunisian needle and inserting the needle into the weft from bottom to top, passing it through the nose loop on the other side of the weft. You will use this stitch to create most of your work.
Tunisian Point of Crossing – Abbrev. PTA: There are two different types of cross stitches – left-handed and right-handed. Crossover stitches are used to create texture in Tunisian Crochet work.
Point of departure – Abbrev. PIDA: When you work a Tunisian Crochet job, making the ida stitch means starting the job. You start by attaching a little chain to your Tunisian needle.
Back stitch – Abbrev. PIVO: When you work a Tunisian Crochet piece, making a back stitch means finishing the job. You finish the weft by tightening the last chain.
Now that you’ve learned the basic terms for Tunisian Crochet, here are some simple steps to start knitting:
1. Attach a long chain along your Tunisian hook.
2. Then insert the Tunisian weft hook from the bottom up through the nose loop on the opposite side.
3. Using the chain attached to the hook, make a simple Tunisian Stitch (PTS).
4. Repeat steps 2 and 3 until you have the desired number of loops in the weft.
5. Finish with a Turn Point (PIVO).
Once you’ve completed the first weft, you can start working on subsequent stitches.
To the right: You should start by punching the right side nose loop into the PTA then make a PTS.
To the left: You should start by punching the left side nose loop into the PTA then make a PTS.
Repeat these steps to finish the work. When you’re done, try washing and blocking the job for a perfect finish.
Good knitting!
Deixe um comentário