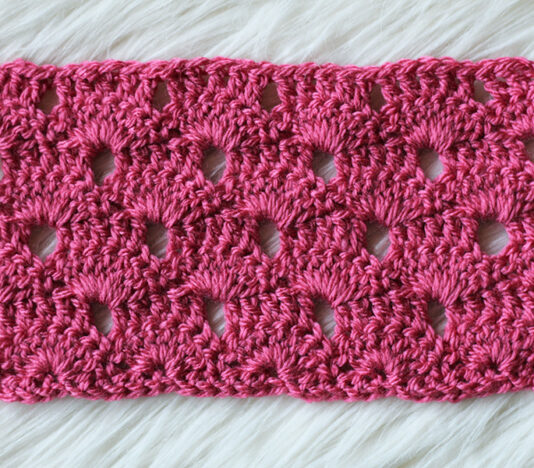
The fan stitch is an intermediate to advanced skill level crochet stitch often used to add texture and visual interest to garments and accessories. It can be used to create a one of a kind item that stands out from the crowd.
This stitch is also known as the v-stitch, open weave stitch, and cluster stitch. To create this stitch, you will need to know how to make both the single crochet and the double crochet. Once you have learned the basics of these two stitches, you will be ready to get started working the fan stitch.
To begin working the fan stitch pattern, you will need to start with a foundation chain. You can use any number of chains for your foundation. For example, if you want a nice open pattern, you would need to begin with a multiple of six plus two.
Then, once the foundation chain is made, you will begin working the stitch straight across it row by row. On the first row, you will make one single crochet in the fourth chain from the hook.
Then you will make one double crochet in each of the next three chains, followed by one single crochet in the next chain. After you have worked across the first row, the pattern is then repeated throughout the project. Once the project is complete, the fan stitch will create an attractive and interesting finished item.
Benefits and advantages of How to Crochet the Fan Stitch
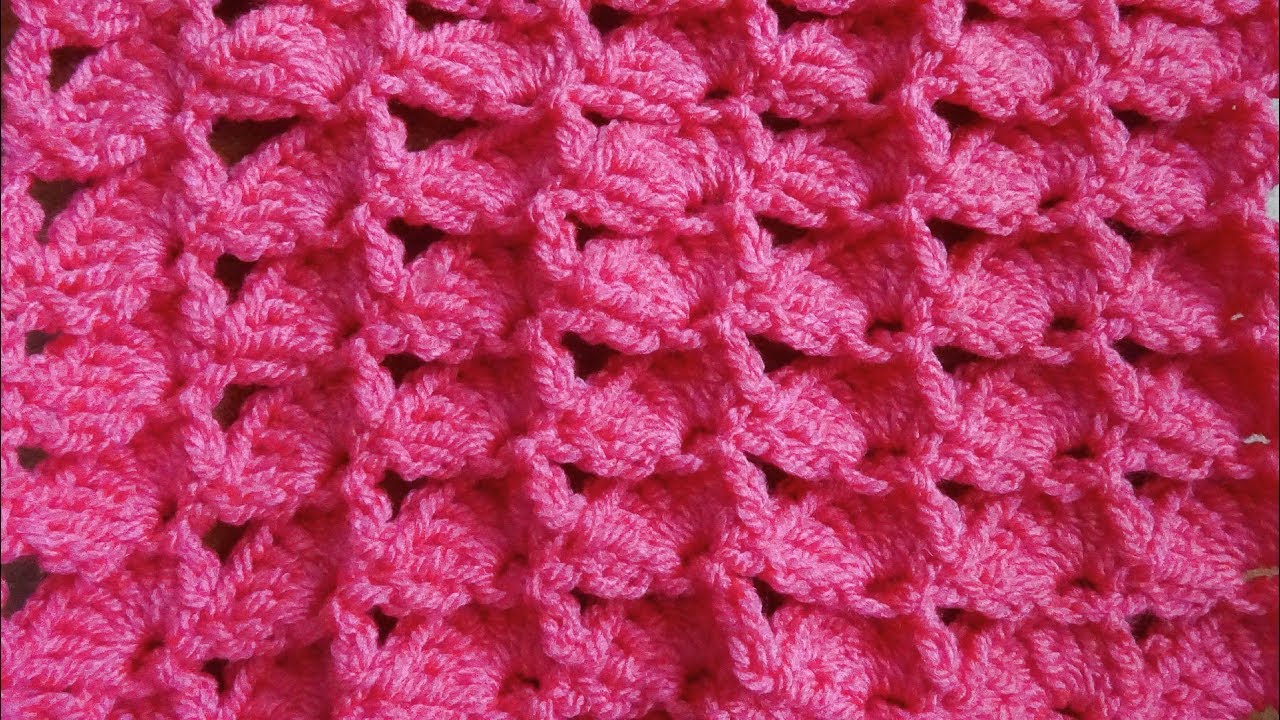
1. The fan stitch offers a stunning visual texture and is versatile enough for a range of projects.
2. Its unique curved shape is perfect for creating edgings, garments, tablecloths, and more.
3. The lace-like design is a great choice for lightweight garments for warmer temperatures, such as a shawl or a scarf.
4. Adding this stitch with others can create a beautiful combination of textures and visual interest.
5. The fan stitch is relatively easy to do for a beginner, yet it is impressive and attractive in its appearance.
6. The stitch can be used to work into a round or incorporated as border to provide extra visual impact.
7. It helps to add soft and feminine details to any project.
8. The fan stitch is an option that’s easily customizable; it can be worked in rows or rounds with different stitch counts to create different looks.
Step by step to do How to Crochet the Fan Stitch
1. Begin by creating a chain of a desired length. For a nice finish on one side of the fan stitch, use an odd number of beginning chains.
2. Skip the first chain and single crochet in the next chain.
3. Chain 3 and single crochet in the same chain stitch.
4. *Chain 3, single crochet in the next chain.* Repeat from *to* across the row.
5. When you have reached the end of the row, chain 1 and turn.
6. Single crochet in the first chain-3 space you made in the previous row.
7. *Chain 3, single crochet in the next chain-3 space.* Repeat from *to* across the row.
8. When you have reached the end of the row, chain 1 and turn.
9. Repeat steps 6-8 until desired length is achieved.
10. To finish the row, single crochet in the last chain-3 space and fasten off.
Final thoughts on the How to Crochet the Fan Stitch
The Fan Stitch is a crochet technique that can be used to create a unique and decorative look. It is relatively simple and requires only basic crochet stitches.
With careful attention to detail, a small amount of yarn, and a crochet hook, you can make a beautiful fan-shaped design.
This technique is ideal for making sweaters, amigurumi, scarves, and other clothing or decorative items. Once you have mastered the basic technique.
You can customize your fans to fit your project or create intricate patterns and designs. Fans look beautiful in any weight of yarn and make a wonderful addition to any project.
Deixe um comentário